Showing posts with label contour drawing. Show all posts

Sunday, 7 April 2019

Drawing and Painting the Landscape – Partial Peek

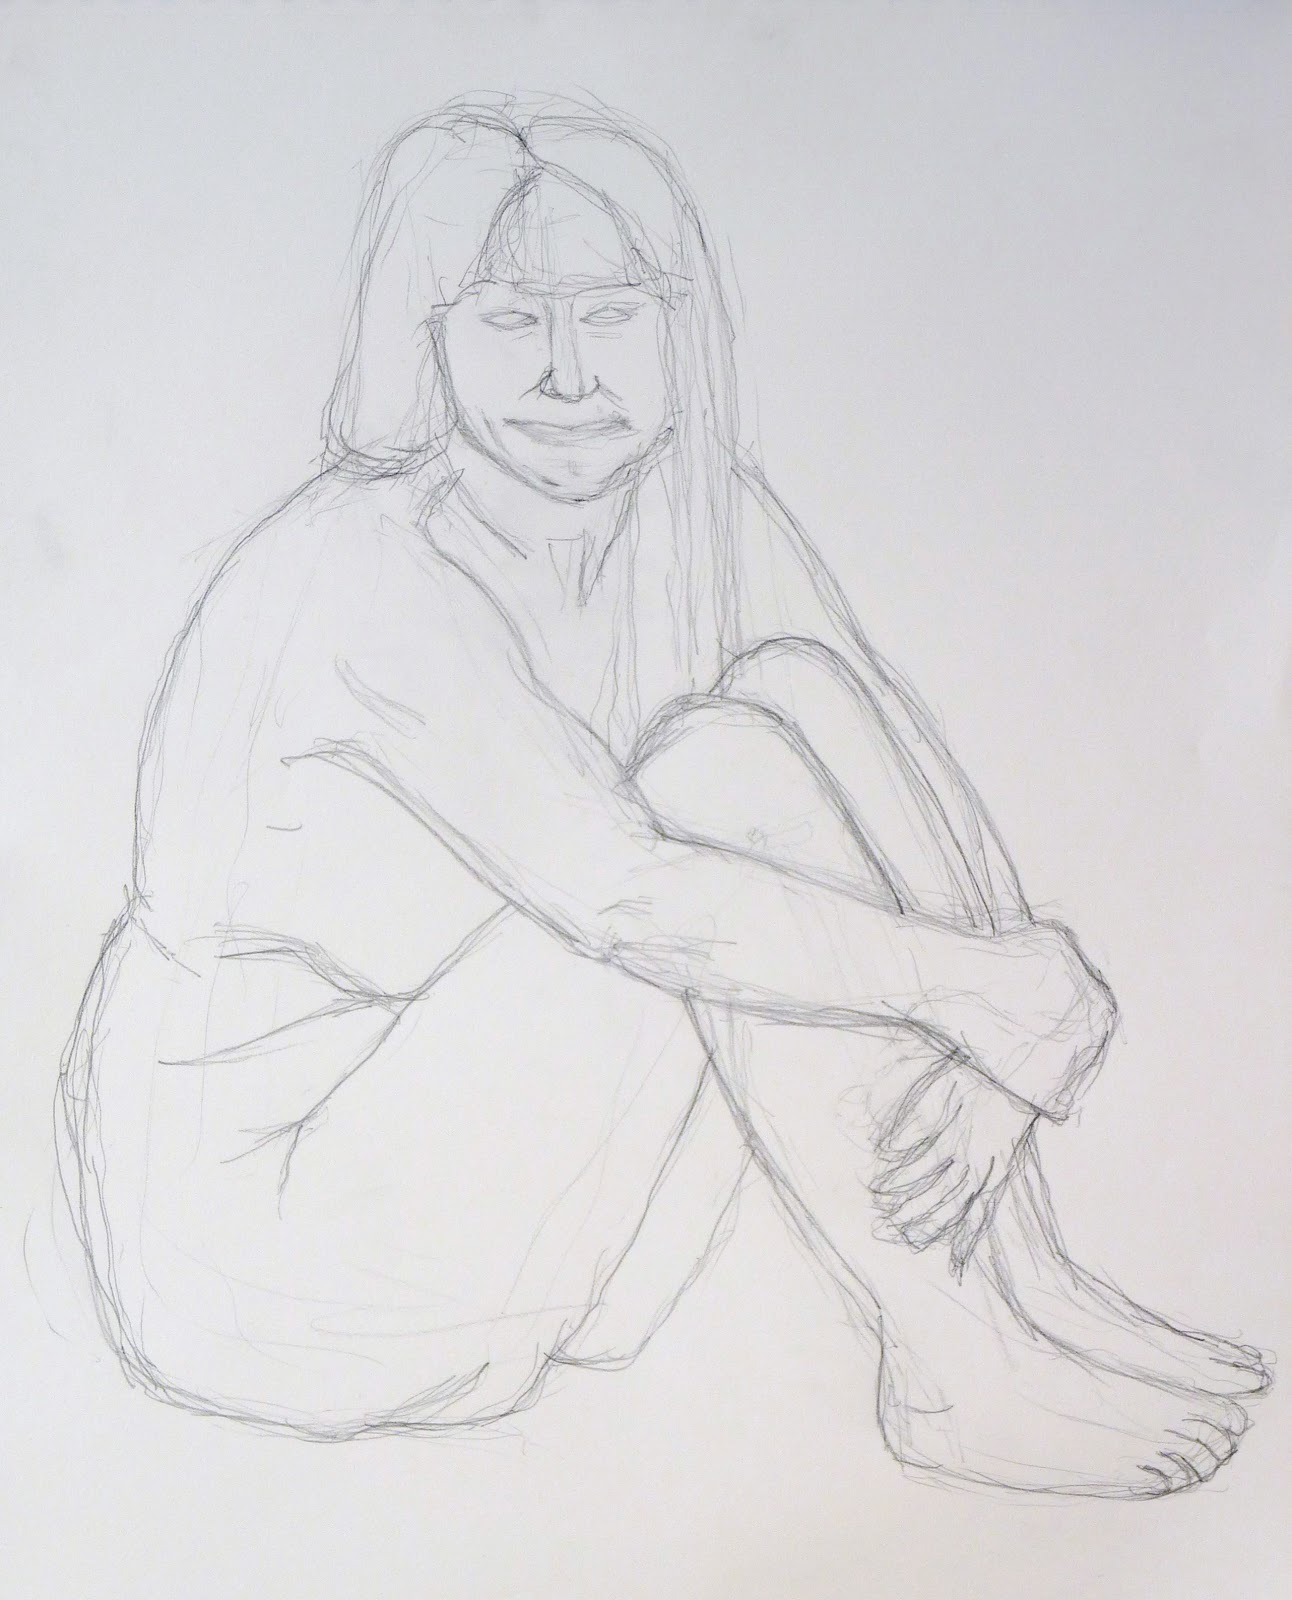
Coaley Peak
Partial Peek - Drawing and Painting the Landscape
Ink and Gouache
Stillman & Birn Alpha Series Sketchbook
30.5cm x 21.5cm (12" x 8.5")

Partial peek is the subject of Lesson 4 in Drawing and Painting the Landscape by Philip Tyler . It is the next step after blind drawing (see Drawing and Painting the Landscape - Blind Drawing). The aim is still to spend more time looking at the landscape then your sketchbook. You blind draw as much as possible, but take occasional peeks at the paper to ensure your lines are not too far out of whack.

Clouds in the Valley and Ivy Clad Oak Trees
Partial Peek - Drawing and Painting the Landscape
Ink and Gouache
Stillman & Birn Alpha Series Sketchbook
21.5cm x 30.5cm (8.5" x 12")


Philip observes that some elements of the landscape lend themselves more to blind drawing than others - he suggests trees and rolling hills. Liz Steel makes a similar observation in her SketchingNow Foundations course.
Draw the foliage loosely, almost blind without worrying if the tree gets out of control a little.
I think blind drawing works best when a descriptive edge is more important than pinpoint accuracy.

Otter Estuary and Mon & Brec
Partial Peek - Drawing and Painting the Landscape
Ink and Gouache
Stillman & Birn Alpha Series Sketchbook
21.5cm x 30.5cm (8.5" x 12")

I drew a few partial peeks from photographs and one in situ at Coaley Peak - this is just along the Cotswold Way from Selsley Common (where the sketchbook was blown out of my hand during the Blind Drawing exercise). Coaley Peak is normally even windier than Selsley common, but this time the weather was kinder.

Sunday, 10 March 2019

Drawing and Painting the Landscape – Blind Drawing


Otter Estuary
Blind Drawing
Drawing and Painting the Landscape
February 2019
Ink
Stillman & Birn Alpha Series Sketchbook
20cm x 11cm (8" x 4.25")

Lesson 3 of Drawing and Painting the Landscape by Philip Tyler is Blind Drawing (a.k.a. Blind Contour Drawing). Most drawing courses and books include blind drawing in one form or another. See the contour drawing label for posts about contour drawing and blind drawing from:

  • The Natural Way to Draw
  • Keys to Drawing
  • Liz Steel’s SketchingNow Foundations course
  • Adebanji Alade’s Inspired to Sketch blog

The aim of the exercise is to study the subject intently. You draw while looking at the subject, you don't look at the paper until the drawing is complete. I particularly like Kimon Nicolaїdes instructions from The Natural Way to Draw:
Imagine that your pencil point is touching the model instead of the paper. Without taking your eyes off the model, wait until you are convinced that the pencil is touching that point on the model upon which your eyes are fastened. Then move your eyes slowly along the contour of the model and move the pencil slowly along the paper. As you do this, keep the conviction that the pencil point is actually touching the contour. Be guided more by the sense of touch than by sight.

Langdale Hills
Blind Drawing
Drawing and Painting the Landscape
February 2019
Graphite Pencil
Stillman & Birn Alpha Series Sketchbook
29cm x 15cm (11.5" x 6")

Philip Tyler recommends the exercise as a technique for warming up:
To find a way of getting into the landscape to discover how it might be drawn.
I drew a few blind drawings from photographs and one in situ on Selsley common. The common is on the edge of the Cotswolds with views over the Severn estuary stretching as far as the Brecon Beacons and the Malvern Hills. It is almost always blustery on the common, probably because the valley acts like a wind tunnel. Elaine and I were there walking with Doris on a particularly windy day. I took a few minutes to sit on a bench and draw the view of Pen Hill. The exercise reached a natural conclusion when the wind abruptly ripped the sketchbook out of my hands and deposited it a few feet away.

Pen Hill from Selsley Common
Blind Drawing
Drawing and Painting the Landscape
February 2019
Graphite Pencil
Stillman & Birn Alpha Series Sketchbook
20cm x 18cm (8" x 7")

I enjoy blind drawing and always get enthralled by the exercise, but my drawings never look anything like the thing the subject. While drawing Pen Hill I realised part of the problem is I normally place the paper to my side - outside of my field of vision. The contortion on my arm makes it difficult for my hand to track accurately; which results in a wonky sketch. It doesn't really matter because the objective of the exercise is to study the subject intently - not to produce a master drawing, but I would still prefer the results to be slightly more accurate. Philip suggests using the cover of the sketchbook over your hand, so that you cannot accidentally look at the drawing. Something I will do from now on.

Sunday, 8 May 2016

April 2016 Sketches

Peace Lilly
5 April 2016
Graphite Pencil
Daler Rowney A5 Ebony Sketchbook
14.9cm x 21.0cm (5.9" x 8.3")

My sketching took a change in direction this month. I have started to follow Liz Steel’s on-line sketching class - Sketching Now. The course covers a number of skills that I want to work on and improve.

Lesson one was about making friends with your equipment and drawing good lines - lines with a definite beginning, a definite end and that are drawn in a continuous movement without any hesitant stopping and starting.

Brushes in my Sketching Kit
17 April 2016
Ink
Stillman & Birn Alpha Series Sketchbook
20.3cm x 14.0cm (8.0" x 5.5")

The first exercise involved drawing your sketching equipment in ink, using good lines and without too much focus on accuracy.

Lesson two was about edges. The first exercise was blind contour drawing:
Look at the subject and imagine the pencil is touching it, slowly moving along its edges and contours - your eyes follow the pencil on its imaginary journey and you draw the object without looking at the paper.

Point to Point Contour Drawing
19 April 2016
Ink
Stillman & Birn Alpha Series Sketchbook
14.0cm x 20.3cm (5.5" x 8.0")

The second exercise was point-to-point contour drawing. In this exercise you look at the subject (not the paper) while you are actually drawing, but re-orientate yourself on the paper at every major change in direction. This is similar to the contour drawing exercise in The Natural Way to Draw (see Contour Drawing).

Point to Point Contour Drawing
25 April 2016
Ink
Stillman & Birn Alpha Series Sketchbook
14.0cm x 20.3cm (5.5" x 8.0")

I find it difficult not to cheat. Once I let myself look at the page, I keep taking sneaky peeks. I really want to develop the ability to draw without looking at the paper, so this time I am interpreting the rules very strictly and will repeat this exercise even after I have moved on to other lessons.

Point to Point Contour Drawing
24 April 2016
Ink
Stillman & Birn Alpha Series Sketchbook
14.0cm x 20.3cm (5.5" x 8.0")

These roffs have appeared on a previous post, I drew them in the dark on Christmas Eve (see December 2015 Sketches).

Sunday, 25 May 2014

Outlines and Blind Contour Drawings

Another Angel Cat
25 May 2014
Graphite Pencil
Daler Rowney A6 Graduate Sketchbook
105mm x 149mm (4.1" x 5.9")

The sketches on this post are my two most recent sketches. The stranger looking drawings are blind contour drawings (see Contour Drawing) of the same subjects.

Another Angel Cat
Blind Contour Drawing  - 25 May 2014
Graphite Pencil on Paper
20cm x 30cm (8" x 12")

Both sketches are experiments using techniques suggested by Adebanji Alade on his Inspired to Sketch blog as Hot Shot 7, 8 - Practice Sketching the Outline and the Blind Contour and Hot Shot 9 - Practice Sketching the Outlines with Angles.

Following Adebanji’s suggestion, I dived straight in and started drawing outlines on blank pieces of paper. This isn't my favourite approach. I prefer to use an extended gesture study (see Section 13) to create a scaffold and to draw outlines and contours on top.

Buddha's Head
15 May 2014
Graphite Pencil
Daler Rowney A6 Graduate Sketchbook
105mm x 149mm (4.1" x 5.9")

I won’t change my approach based on these experiments, but I will use them as occasional training exercises to improve my ability to judge line lengths and relative angles. Adebanji stresses the importance of blind contour drawing as a tool to develop these skills, so I will also reintroduce this into my practice.

Buddha's Head
Blind Contour Drawing  - 14 May 2014
Graphite Pencil on Paper
27cm x 39.5cm (10.5" x 15.5")

The angel cat is a sculpture by Marie Prett. I posted a painting of another of her angel cats back in 2011 (see Angel Cat Thing).

Sunday, 22 December 2013

Preparing for Christmas

Deck The Halls - Extended Gesture Study
Graphite Pencil on Paper
27cm x 20cm (10.5" x 8")

I am in the middle of painting Elaine’s Christmas card. The drawing is ready, but it could be a long night. Hopefully, I will post the result tomorrow.

Deck The Halls - Contour Study
Graphite Pencil on Tracing Paper
20cm x 14cm (8" x 5.5")

I am following the same steps I used for the recent picture of the orchid (see Why Can't Plants Keep Still?):

  • Extended gesture study
  • Contour study
  • Painting

Sunday, 24 November 2013

Why Can’t Plants Keep Still?

Orchid
Watercolour on Paper
14cm x 18cm (5.5" x 7")

Elaine bought an orchid to be the subject of some exercises from Composition by Arthur Wesley Dow (see Line Drawing, Opposition and Transition). Her friend Nicola kindly donated an abundance of holly for the same purpose.

Holly - Extended Gesture Study
Graphite Pencil on Paper
28cm x 16.5cm (11" x 6.5")

I am using the first two steps from the Sustained Study from the Natural Way to Draw (see Section 13)  to prepare line drawings for use in the composition exercises.

Holly - Contour Study
Graphite Pencil on Tracing Paper
28cm x 16.5cm (11" x 6.5")

I start by drawing an extended gesture study and then put a piece of tracing paper over the gesture drawing and draw a contour study.

Orchid - Extended Gesture Study
Graphite Pencil on Paper
14cm x 18cm (5.5" x 7")

For both subjects I drew the gesture study on one evening and the contour study the next. You would have thought a plant could keep still for one day, but they wriggle and fidget as though you have sprayed them with itching powder - half the buds on the orchid opened overnight and all the leaves on the holly decided to change which spikes they were poking forwards and which ones they were poking backwards. You might as well draw cats and dogs.

Orchid - Contour Study
Graphite Pencil on Tracing Paper
14cm x 18cm (5.5" x 7")

When I drew the contour studies, I had to decide whether to keep the position of the plant from the gesture study or to start again with the new position of the plant. For both the orchid and the holly, I stuck with the pose from the gesture study. In future, I plan to draw the extended gesture study and the contour study in a single session - I've learnt this lesson.

Sunday, 21 July 2013

Keys to Drawing – Chapter 1


Keys to Drawing - Exercise 1B
30 Minutes
3 July 2013
Graphite Pencil on Paper
24cm x 36cm (9.5" x 14")

Chapter 1 of the Keys to Drawing is about the drawing process. It is primarily a chapter about contour drawing and seeing the world as shapes.

Keys to Drawing - Exercise 1A
45 Minutes
1 July 2013
Graphite Pencil on Paper
29cm x 34.5cm (11.5" x 13.5")

Bert Dodson starts by discussing a basic drawing process of Look, Hold (Remember), Draw. He stresses the importance of drawing what we see rather than what we expect to see and towards the end of the chapter, he presents 4 rules:
  • Draw the big shapes first and then add smaller shapes
  • Look for enrichment shapes – shadows, reflections, highlights, etc
  • Merge adjoining shapes of similar tone
  • Draw trapped shapes (negative space)

Keys to Drawing - Exercise 1C
30 Minutes
7 July 2013
Graphite Pencil on Paper
23cm x 23m (9" x 9")

The chapter includes two important ideas:
  • Restatement - correcting mistakes without erasing the original inaccurate lines. Initially, this can be a bit demoralising, but it is an important concept for a number of reasons. In the early stages of a drawing, the mistakes can help you to work out what needs to change. Time spent erasing can be used more productively for studying the subject. Multiple restatements can add a sense of energy to a sketchy drawing.
  • Focus - in a limited time, you can’t draw everything. Once you have drawn the big shapes, focus on the details in the most important/interesting areas. The less important areas don't need the same level of attention. 

Keys to Drawing - Exercise 1D
20 Minutes
8 July 2013
Graphite Pencil on Paper
19cm x 10cm (7.5" x 4")

The chapter is interspersed with plenty of challenging exercises. After completing The Natural Way to Draw, I was expecting to breeze through these exercises, but this is not the case. These are difficult subjects.

Keys to Drawing - Exercise 1E
60 Minutes
13 July 2013
Graphite Pencil on Paper
39cm x 19cm (15.5" x 7.5")

It is interesting to see the difference in how the authors of The Naural Way to Draw and the Keys to Drawing handle similar ideas, for example:
  • Dodson recommends repeating trigger words to describe the feeling of the subject - spiky, furry, etc.
  • Nicolaides suggests you imagine you are touching the contour with the pencil and can feel the surface you are drawing through the pencil
 
Keys to Drawing - Exercise 1F
40 Minutes
15 July 2013
Graphite Pencil on Paper
38cm x 21.5cm (15" x 8.5")

I still have the sketchbooks from when I first read the Keys to Drawing in 2009. It is interesting to compare the two sets of drawings and pleasing to notice some improvement.
 
Keys to Drawing - Exercise 1D 2009
20 Minutes
25 August 2009
Graphite Pencil on Paper
13cm x 8cm (5" x 3")

Keys to Drawing - Exercise 1C 2009
20 Minutes
24 August 2009
Graphite Pencil on Paper
16.5cm x 13m (6.5" x 5")

Sunday, 27 January 2013

Exercises in Black and White Oil Color

Leaning on One Arm - Half-hour Study
26 January 2013
Oil Colour on Paper
42cm x 53cm (17" x 21")

Section 22 of the Natural Way to Draw introduces three exercises using black and white oil paints:

  • Gesture drawing in oil – This is a five minute study. It is similar to the gesture study in black and white (see Gesture in Black and White and More Gestures in Black and White) except it uses black and white oil paint instead of Conté crayons.
  • Half-hour study in oil. This starts as a gesture study and continues into a combination of a modelled study and an extended gesture study.
  • Sustained study in oil color – this is similar to the sustained study in crayon (see Sustained Study in Crayon and Try and Try Again) except for the use of oil paint instead of crayon. The instructions offer the opportunity to skip the contour study for the clothed pose, but I’ve chosen to include it.

Arm on Knee - Gesture Drawing
25 January 2013
Oil Colour on Paper
28cm x 22cm (11" x 8.5")

I am using water mixable oil paints (see http://www.winsornewton.com/products/oil-colours/artisan-water-mixable-oil-colour/) because I don’t want to stink the house up with turpentine or some other nasty solvent.

Kimon Nicolaides says oil paint is the best medium for the study of drawing, but I am yet to be convinced. The biggest problem is the brushes don’t hold enough paint to make continuous strokes – this is my excuse for why the gesture drawings are stilted. I couldn’t build up any momentum because I was continually having to stop to pick up more paint.

Hand On Hip in Oil - Gesture Drawing
25 January 2013
Oil Colour on Paper
29.5cm x 38cm (7.75" x 15")

Since painting these studies, I’ve started to add water to soften and loosen the paint. This has made the exercises much more enjoyable, but goes against Nicolaides instructions. He suggests the student should take moisture out of the paint to discourage it from spreading and mixing on the paper. I suspect the paints he was using were a lot wetter because the undiluted water mixable oils don’t show any tendency to slosh about on the paper.

Sustained Study - Section 22 - Contour Drawing
27 January 2013
Graphite Pencil on Tracing Paper
27.5cm x 51cm (10.75" x 20")

This is my contour drawing for the sustained study from Section 22. When I took the photo, the face detection facility on the camera noticed Elaine’s face. This surprised me because its never found a face in a drawing before.

Sunday, 18 November 2012

A Change of Plans

Unwinding
Watercolour, Gouache and Permanent Marker on Paper
18cm x 25.5cm (7" x 10")

I was planning to spend Saturday painting some Christmas cards and finishing the painting of Coverack Harbour that I started back in September (see Preparations for Coverack Harbour ). Instead, I was sidetracked into painting the picture at the top of this post.

On Friday evening, Elaine posed for three 5-minute Straight and Curved Lines studies. One of the drawings really appealed to me because a small number of lines captured the gesture of the pose and there was an interesting contrast in the way Elaine’s straight right leg crossed her curved left leg. On Saturday morning, I was more attracted to painting a simplified version of the drawing than to the activities I had planned, so we will have to buy Christmas cards.

Sustained Study - Section 20 - Contour Drawing
11 November 2012
Graphite Pencil on Tracing Paper
38cm x 37cm (15" x 14.5")

This is the contour drawing from the sustained study for Section 20. It is the closest I’ve come to a likeness of Elaine in these exercises. It is a shame it is on a tatty piece of tracing paper.

Sunday, 30 September 2012

Studies of Structure

Leg and Knee
15 September 2012
Graphite Pencil on Tracing Paper
23cm x 51cm (9" x 20")

Section 18 of the Natural Way to Draw contains a series of exercises that study the skeletal structure of the body in more detail than the Study of the Bones (see Study of the Bones and Skull and Bones).

The first exercise is a 1 hour study of the Hand and Arm. You start by drawing a 15-minute contour study. You place a piece of tracing paper over the contour drawing and spend the rest of the hour studying and drawing the bones using anatomical charts and text books as references.

There are similar exercises for:
  • The Shoulder Girdle
  • The Leg and Knee
  • The Foot
These exercises are quite different from most of the other exercises in the Natural Way to Draw, which require intense observation of a real subject. During the studies of structure, I spent more time studying Classic Human Anatomy by Valerie L. Winslow than looking at Elaine.

Before starting the exercises, I was unsure about the benefit of drawing the bones - why not just study the anatomical charts for an hour?

The drawing of the Leg and Knee supplies the answer to the question. It helps to identify the gaps in my understanding. By comparing the drawing with the anatomical charts I can see I’ve made the bones far too thick. I’d better pay more attention to this in the next study of the bones exercise.

Eye
15- Minute Contour Study
22 September 2012
Graphite Pencil on Paper
25.5cm x 35.5cm (10" x 14")

The studies of structure also include 15-minute contour studies of ears and eyes. These are more like the majority of the Natural Way to Draw exercises and involve some serious staring.

I have noticed some improvement in my drawings as I learn more about anatomy, but it is a slow process.

Sunday, 29 July 2012

Sustained Study 3

Sustained Study 3 (Clothed) - Contour Drawing
30 June 2012
Graphite Pencil on Tracing Paper
57cm x 25.5cm (22.5" x 10")

The sustained study is an extended gesture drawing, a contour drawing and a modelled drawing of the same pose. The contour drawing is drawn on tracing paper laid over the extended gesture drawing and the modelled drawing is drawn on tracing paper laid over the contour drawing (see Section 13).

Sections 14 and 15 contain a nude and a clothed study of the same pose.

One of the biggest challenges is to find a pose that Elaine can hold for 18 25-minute sessions. If you are not allowed to move, even the most seemingly comfortable position becomes torture. After about 15 minutes in this pose, Elaine would lose all felling in her right arm. To remedy this I tried to let her know when I was focusing on her feet and legs so she could move her head and arm and shake some life back into them.

Sustained Study 3 (Clothed) - Modelled Drawing
21 July 2012
Graphite Pencil on Tracing Paper
57cm x 25.5cm (22.5" x 10")

Recreating a pose at the start of each session can also be tricky. Relatively minor changes in Elaine’s or my position can dramatically alter my view. Sometimes it is difficult to determine whether I’m in a different position, Elaine is in a different position or if just one of her limbs has shifted slightly. It can be like solving a particularly tricky spatial awareness puzzle.

Sustained Study 3 - Extended Gesture Drawing
25 June 2012
Graphite Pencil on Tracing Paper
57cm x 25.5cm (22.5" x 10")

I am extremely grateful to Elaine for all the time she spends in these poses and for allowing me to post the results.

Sunday, 8 April 2012

Section 13


Sustained Study 1 - Contour Drawing
18 March 2012
Graphite Pencil on Tracing Paper
42cm x 51cm (16.5" x 20")

Yesterday I finished Section 13 of the Natural Way to Draw.

Section 13 is a milestone:
  • It is the halfway point
  • It pulls some of the threads of the course together into a single exercise (the sustained study)
  • It introduces the first exercise (the extended gesture study) that puts an emphasis on accurately drawing the proportions of the subject

The extended gesture study is a half hour exercise. It beings with a normal gesture drawing (see Gesture Drawing). You then make the drawing more accurate by looking for alignments, measuring angles and relative dimensions. You can even erase lines if the drawing becomes confusing. The one stipulation is not to allow this analytical thinking to impose rigidity on to the drawing. You have to keep returning to the spirit of the gesture and draw what the subject is doing.

The sustained study is drawn in four 1-hour sessions. It starts with an extended gesture drawing. You then put a piece of tracing paper over the gesture drawing and make a contour drawing. The instructions for the contour drawing are the same as for the original exercise (see Contour Drawing) - you have to imagine a physical contact with the subject and only draw when you are looking at the subject. The difference is you can look at the paper more often and use the gesture drawing to help locate your position on the paper.

Sustained Study 1 - Extended Gesture Drawing
11 March 2012
Graphite Pencil on Paper
42cm x 51cm (16.5" x 20")

You then remove the gesture drawing, cover the contour drawing with another sheet of tracing paper and make a modelled drawing in pencil. The instructions are largely the same as for the earlier modelled drawings (see Modelled Drawing) with one important exception. In the original exercise, the lightest parts of the drawing are the parts of the subject that are closest to you. In the sustained study, the lightest parts of the drawing are the lightest parts of the subject.

Sustained Study 1 - Modelled Drawing
31 March 2012
Graphite Pencil on Tracing Paper
42cm x 51cm (16.5" x 20")

I am immensely grateful to Elaine for all the time she spends posing and for allowing me to post these pictures. The modelled drawing is particularly unflattering, but it is an important measure of my progress at the mid point of the course. I’ve come a long way, but there is still a long way to travel.


Sunday, 1 April 2012

Holiday Sketch

Relaxing
25 March 2012
Water-soluble Pencil, Ink and Watercolour on Paper
25.5cm x 13cm (10" x 5")

On Tuesday, Elaine and I returned from an incredible holiday in the Maldives. We took a week off from the Natural Way to Draw, which made the break even more relaxing.

I kept up with the Daily Composition exercise and somehow I found time to draw Elaine reclining on a sun lounger.

This drawing is loosely based on the Extended Gesture Study and the Sustained Study from Section 13 of the Natural Way to Draw.

The Sustained Study brings together gesture drawing, contour drawing and modelled drawing. It uses tracing paper to overlay the different techniques. In this picture, I have used all three techniques on a single piece of paper.

I started by drawing an extended gesture study in water-soluble pencil. I followed this up with a contour drawing in ink and then some modelling with the water-soluble pencils.

I used a wet paintbrush to blend and soften the pencil lines. When this was dry, I finished the sketch by adding some watercolour.

This was an interesting experiment and I plan to do some more sketching using this technique.

Next weekend, I will write a more detailed post about the Extended Gesture Study and the Sustained Study.

Sunday, 18 September 2011

The Lopsided Room

The Lopsided Room
Contour Drawing - 10 September 2011
Graphite Pencil and Watercolour on Paper
52cm x 42cm (20.5" x 16.5")

The Lopsided Room sounds like a Sherlock Holmes adventure, but there is no mystery here – it is another contour drawing.

This is the second half of my 5 hour contour drawing (see The Return of Contour Drawing).

I’ve enjoyed and benefited from the exercise, but its been a struggle - I’ve done 2 drawings instead of 1 and in the first drawing, I drew too quickly and in this second drawing, I drew unnecessarily slowly.

Last Saturday I completed Section 7 of the Natural Way to Draw. It finishes with what I suspect is one of the key lessons in the whole course. This is my interpretation - Draw each line as though you were creating a contour drawing. Focus on the subject. Imagine the pencil is touching it and the subject causes the line. Sounds like the sort of thing Bruce Lee said in Enter the Dragon. So it must be right.

Sunday, 28 August 2011

The Return of Contour Drawing


Me Again
Contour Drawing - 20 August 2011
Graphite Pencil on Paper
35.5cm x 53.5cm (14" x 21")

Contour Drawing is back with a vengeance in Section 7 of the Natural Way to Draw. This is the exercise in which you imagine the pencil is touching the subject and draw without looking at the paper (see the previous posts Contour Drawing, Sunday Papers and Farewell Contour Drawing). Section 7 has a number of variations of the exercise: Cross Contours, Quick Contours, The Head, Right Angle Contours and The Five-Hour Contour.

The drawing at the top of the post is my attempt at the five-hour contour exercise. In the five-hour contour, the pencil is supposed to crawl across the paper at a snail’s pace. My speed was too fast and I finished in 2 hours.  The text suggests that I should persevere and add more details, but I’ve decided to start again on a three-hour contour (with a different subject) because I misjudged the speed so badly.

One of the main goals of the exercise is to study a subject for 5 hours. I have failed to achieve this, but I have understood the point of the exercise and there are other opportunities to gain this experience later in the course. I know that I was studying my face intently because at one point I was confused by a slight pulse in my neck.

I struggled to get back into contour drawing. When it is going well it is a meditative state – there isn’t anything apart from the contour I am following. Unfortunately, there are parts of my consciousness that don’t want to have a meditative state imposed on them. They protest, distract, and try to make the whole experience unpleasant. It took a few sessions for me to address the protests and to get back into the groove.

The drawing at the bottom is a 30 minute contour drawing of my head. Neither of the pictures really looks like me, but they both capture different parts of my face quite well.


And Again
Contour Drawing - 24 August 2011
Graphite Pencil on Paper
28cm x 46cm (11" x 18")

Sunday, 20 March 2011

Farewell Contour Drawing

On The Other Hand
Contour Drawing - 19 February 2011
Graphite Pencil on Paper
28cm x 30cm (11" x 12")

This is my last contour drawing for a few months.

I’ve finished Section 2 of the Natural Way to Draw and contour drawing disappears from the schedules for the next 4 Sections, which is 20 weeks in my timetable.

It is like losing a friend. Initially I hated it, but over the last 10 weeks, I have come to enjoy time spent contour drawing. It is a restful activity as long as I accept that the results are likely to look mad and I don’t have any preoccupations or time pressures.

Hopefully, I will have a similar breakthrough with gesture drawing, because the schedules all contain 65 gesture drawings a lesson (week).

I’ve read the instructions for the first exercise in Section 3. It mostly involves scribbling with crayon. I will post the results in a couple of weeks. Prepare yourself for something like Mr Messy from the Mr Men.

Sunday, 13 March 2011

Spring Tulips

Spring Tulips
Watercolour and Ink on Paper
26cm x 36.5cm (10.25" x 14.5")

I had to paint these tulips. Tommy Kane posted a striking ink and watercolour sketch of some tulips on the Urban Sketchers blog (http://www.urbansketchers.org/search/label/Tommy%20Kane) and then Elaine bought these beautiful tulips.

I already have two paintings on the go, but I had to leave them to draw and paint the tulips.

This was more difficult than I anticipated. I haven’t done any sketching this year and I seemed to have forgotten how. I have been following the exercises from the Natural Way to Draw and painting watercolours from photographs. This is the first time this year that I’ve sat down in front of something with the intention of drawing and painting it.

The drawing at the bottom of the post is a contour drawing of the same tulips that I drew before starting the sketch.

Spring Tulips
Contour Drawing - 12 March 2011
Graphite Pencil on Paper (Contrast Digtially Enhanced)
28cm x 51cm (11" x 20")