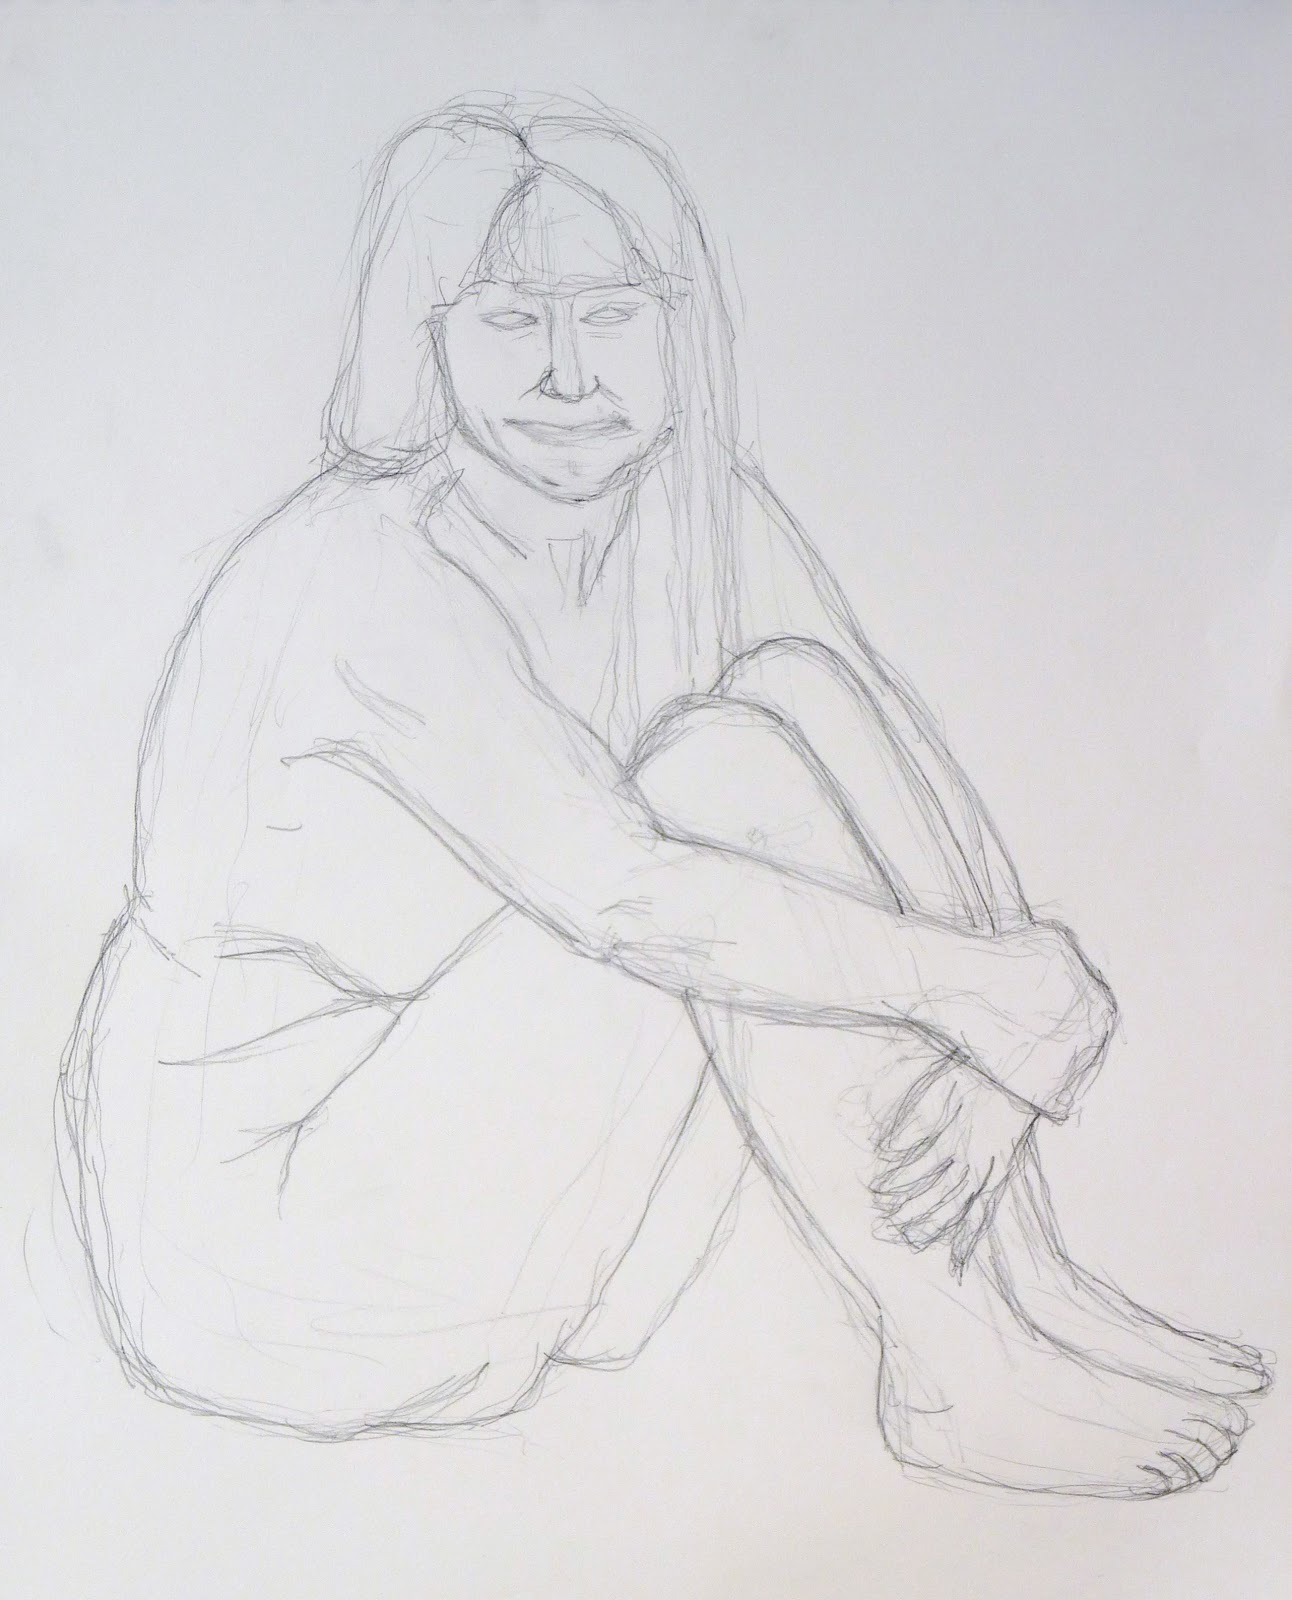
Showing posts with label extended gesture study. Show all posts

Sunday, 22 December 2013

Preparing for Christmas

Deck The Halls - Extended Gesture Study
Graphite Pencil on Paper
27cm x 20cm (10.5" x 8")

I am in the middle of painting Elaine’s Christmas card. The drawing is ready, but it could be a long night. Hopefully, I will post the result tomorrow.

Deck The Halls - Contour Study
Graphite Pencil on Tracing Paper
20cm x 14cm (8" x 5.5")

I am following the same steps I used for the recent picture of the orchid (see Why Can't Plants Keep Still?):

  • Extended gesture study
  • Contour study
  • Painting

Sunday, 24 November 2013

Why Can’t Plants Keep Still?

Orchid
Watercolour on Paper
14cm x 18cm (5.5" x 7")

Elaine bought an orchid to be the subject of some exercises from Composition by Arthur Wesley Dow (see Line Drawing, Opposition and Transition). Her friend Nicola kindly donated an abundance of holly for the same purpose.

Holly - Extended Gesture Study
Graphite Pencil on Paper
28cm x 16.5cm (11" x 6.5")

I am using the first two steps from the Sustained Study from the Natural Way to Draw (see Section 13)  to prepare line drawings for use in the composition exercises.

Holly - Contour Study
Graphite Pencil on Tracing Paper
28cm x 16.5cm (11" x 6.5")

I start by drawing an extended gesture study and then put a piece of tracing paper over the gesture drawing and draw a contour study.

Orchid - Extended Gesture Study
Graphite Pencil on Paper
14cm x 18cm (5.5" x 7")

For both subjects I drew the gesture study on one evening and the contour study the next. You would have thought a plant could keep still for one day, but they wriggle and fidget as though you have sprayed them with itching powder - half the buds on the orchid opened overnight and all the leaves on the holly decided to change which spikes they were poking forwards and which ones they were poking backwards. You might as well draw cats and dogs.

Orchid - Contour Study
Graphite Pencil on Tracing Paper
14cm x 18cm (5.5" x 7")

When I drew the contour studies, I had to decide whether to keep the position of the plant from the gesture study or to start again with the new position of the plant. For both the orchid and the holly, I stuck with the pose from the gesture study. In future, I plan to draw the extended gesture study and the contour study in a single session - I've learnt this lesson.

Sunday, 1 September 2013

Keys to Drawing – Chapter 3

Keys to Drawing - Exercise 3F
60 Minutes
26 August 2013
Graphite Pencil on Paper
28cm x 32cm (11" x 12.5")

Chapter 3 of Keys to Drawing is about estimating and drawing accurate proportions.

This chapter is the main reason why I am rereading Keys to Drawing. It fills, what for me is, an important gap in the Natural Way to Draw.

Keys to Drawing - Exercise 3A
35 Minutes
6 August 2013
Graphite Pencil on Paper
21.5cm x 33cm (8.5" x 13")

Bert Dodson introduces a number of techniques that use the pencil as a sighting tool to take accurate measurements from the subject:
  • Find the midpoint - use the pencil to find the horizontal and vertical midpoints on the subject
  • Plumb and level – use the pencil to find parts of the subject that align either horizontally or vertically
  • Comparative measurements – use the pencil to measure some part of the subject (e.g. the head) and then measure the relative size of other parts of the subject
In each of the techniques, you hold the pencil out in front of you and close one eye to take accurate measurements - the classic artists pose.

Keys to Drawing - Exercise 3B
40 Minutes
8 August 2013
Graphite Pencil on Paper
39cm x 23cm (15.5" x 9")

The chapter contains six exercises:
3A - a standing figure
3B - a reclining figure
3C - a foreshortened reclining figure
3D - a front view portrait
3E - a three-quarter view portrait
3F - a foreshortened portrait
Keys to Drawing - Exercise 3C
40 Minutes
12 August 2013
Graphite Pencil on Paper
25.5cm x 29cm (10" x 11.5")

Dodson’s instructions for the exercises are virtually the same as the instructions for the Extended Gesture Study (see Section 13) from The Natural Way to Draw:
Start with a gesture drawing and then use the sighting strategies to check and correct the proportions before (and while) adding details to the drawing.
Keys to Drawing - Exercise 3D
60 Minutes
14 August 2013
Graphite Pencil on Paper
26.5cm x 33cm (10.5" x 13")

Dodson’s sighting strategies are some of the “methods” that Kimon Nicolaides glosses over in his instructions:
“You may use any and all methods at your command to arrive at the correct proportions and the posture, even to the extent of measuring how much higher one point is than another and the angles and distances that are created from point to point.”
Keys to Drawing - Exercise 3E
60 Minutes
19 August 2013
Graphite Pencil on Paper
28cm x 35.5cm (11" x 14")

I am not suggesting that Keys to Drawing is a better book than The Natural Way to Draw.

Nicolaides may not offer much advice about drawing accurate proportions, but this is because it is not central to what he is teaching.

Keys to Drawing - Exercise 3B 2009
14 September 2009
Graphite Pencil on Paper
27cm x 12.5cm (20.5" x 9")

I've included a couple of drawings from when I first read Keys to Drawing in 2009. The new drawings are more detailed and they look more realistic - the gesture is more accurately observed and they seem three-dimensional. This is what I learnt from The Natural Way to Draw and what I wouldn't have worked out for myself in two and a half years of unstructured drawing practice.

Keys to Drawing - Exercise 3E 2009
4 October 2009
Graphite Pencil on Paper
21cm x 25.5cm (8.25" x 10")

Sunday, 14 October 2012

Preparations for Coverack Harbour

Coverack Harbour - Underdrawing
Carbon Pencil on Paper
38cm x 28cm (15" x 11")

This is the underdrawing for a painting of Coverack harbour. It is inspired by one of David and Jane’s holiday photographs.

It is a complicated scene, so I decided to explore it and get ready for the painting by drawing a preliminary study.

In the first attempt, I tried taking detailed measurements and alignments from the photo. After a while, I realised I wasn’t enjoying myself and the result was dreadful. It was stilted, unappealing and the dimensions were all wrong.

I started again by making an extended gesture study (see Section 13). I made refinements and corrections as I went along, but I focused on capturing the atmosphere of the scene rather than getting bogged down by measuring. It was an enjoyable way to spend a couple of evenings in a hotel.

Coverack Harbour - Gesture Drawing
Graphite Pencil on Paper
42cm x 29.7cm (16.5" x 11.75")

I continued the steps of the sustained study by making a contour drawing on tracing paper placed over the gesture drawing. I then used the tracing paper to transfer the image to the watercolour paper.

The result is not a particularly accurate or detailed interpretation of the photograph, but it suits my needs. I want to create the impression of a jumbled mass of boats in the harbour. I will use the drawing as a guide to where to paint, but I am not going to follow it slavishly.

I hope the painting will be ready to post next weekend, but more likely it will be the one after that.

Sunday, 5 August 2012

Skull and Bones

Not Quite Elaine
Extended Gesture Study - 24 July 2012
Graphite Pencil on Paper
41cm x 48cm (16" x 19")

Sections 14 ,15 and 16 of the Natural Way to Draw include a Study of the Head in Pencil. I interpreted the exercise as being an extended gesture drawing (see Extended Gesture Study of the Head), but they probably should have been modelled drawings.

I don't regret the mistake because the schedules include a lot of modelled drawing. I’ve benefited from the additional practice of trying to draw the gesture of Elaine's features and measuring the angles and relative dimensions of her head.

Section 16 includes a second Study of the Bones.

Study of the Bones 2
22 July 2012
Graphite Pencil on Paper
56cm x 28cm (22" x 11")

Nicolaides stresses the importance of approaching the exercise “lightly and casually”. I would struggle to do anything else - it is a surreal experience.

Sunday, 29 July 2012

Sustained Study 3

Sustained Study 3 (Clothed) - Contour Drawing
30 June 2012
Graphite Pencil on Tracing Paper
57cm x 25.5cm (22.5" x 10")

The sustained study is an extended gesture drawing, a contour drawing and a modelled drawing of the same pose. The contour drawing is drawn on tracing paper laid over the extended gesture drawing and the modelled drawing is drawn on tracing paper laid over the contour drawing (see Section 13).

Sections 14 and 15 contain a nude and a clothed study of the same pose.

One of the biggest challenges is to find a pose that Elaine can hold for 18 25-minute sessions. If you are not allowed to move, even the most seemingly comfortable position becomes torture. After about 15 minutes in this pose, Elaine would lose all felling in her right arm. To remedy this I tried to let her know when I was focusing on her feet and legs so she could move her head and arm and shake some life back into them.

Sustained Study 3 (Clothed) - Modelled Drawing
21 July 2012
Graphite Pencil on Tracing Paper
57cm x 25.5cm (22.5" x 10")

Recreating a pose at the start of each session can also be tricky. Relatively minor changes in Elaine’s or my position can dramatically alter my view. Sometimes it is difficult to determine whether I’m in a different position, Elaine is in a different position or if just one of her limbs has shifted slightly. It can be like solving a particularly tricky spatial awareness puzzle.

Sustained Study 3 - Extended Gesture Drawing
25 June 2012
Graphite Pencil on Tracing Paper
57cm x 25.5cm (22.5" x 10")

I am extremely grateful to Elaine for all the time she spends in these poses and for allowing me to post the results.

Sunday, 20 May 2012

Extended Gesture Study of the Head


Elaine?
Extended Gesture Study
10 May 2012
Graphite Pencil on Paper
36cm x 47cm (14.25" x 18.5")

The extended gesture study begins with a gesture drawing (see Gesture Drawing), which you refine to show contours and to make the proportions more accurate (see Section 13).

The drawing at the top of the post is an extended gesture drawing of Elaine's head. Unfortunately, it doesn’t look much like her. It has long hair, the right number of eyes, a nose and a mouth, but that is about where the similarity ends.

Kimon Nicolaides stresses the purpose of the exercise is to create a study of a head and not to think about creating a portrait or likeness. This is difficult advice to follow. It is an easy concept, but when we draw someone’s face, we want it to look like him or her. I can pretend that I don’t. but I do.

Nicolaides acknowledges this and even suggests using strangers as subjects so that creating a likeness becomes less important.

The extended gesture drawing exercise is a bigger challenge than I expected. I am finding it difficult and time consuming to accurately measure and draw the relative proportions of a face or body.

This drawing of Elaine provides a good example. I became so bogged down in measuring angles and relative dimensions that I lost the gestures in her features, which is why it doesn't look like her.

Nicolaides talks about the need for effort and I am working harder on these exercises than on any of the previous exercises. They are a struggle, but I feel as though a breakthrough is imminent.

I am beginning to realise:
  • If time is limited, I need to focus on gesture and sacrifice accurate proportions
  • I should align things correctly before trying to measure them

Sunday, 8 April 2012

Section 13


Sustained Study 1 - Contour Drawing
18 March 2012
Graphite Pencil on Tracing Paper
42cm x 51cm (16.5" x 20")

Yesterday I finished Section 13 of the Natural Way to Draw.

Section 13 is a milestone:
  • It is the halfway point
  • It pulls some of the threads of the course together into a single exercise (the sustained study)
  • It introduces the first exercise (the extended gesture study) that puts an emphasis on accurately drawing the proportions of the subject

The extended gesture study is a half hour exercise. It beings with a normal gesture drawing (see Gesture Drawing). You then make the drawing more accurate by looking for alignments, measuring angles and relative dimensions. You can even erase lines if the drawing becomes confusing. The one stipulation is not to allow this analytical thinking to impose rigidity on to the drawing. You have to keep returning to the spirit of the gesture and draw what the subject is doing.

The sustained study is drawn in four 1-hour sessions. It starts with an extended gesture drawing. You then put a piece of tracing paper over the gesture drawing and make a contour drawing. The instructions for the contour drawing are the same as for the original exercise (see Contour Drawing) - you have to imagine a physical contact with the subject and only draw when you are looking at the subject. The difference is you can look at the paper more often and use the gesture drawing to help locate your position on the paper.

Sustained Study 1 - Extended Gesture Drawing
11 March 2012
Graphite Pencil on Paper
42cm x 51cm (16.5" x 20")

You then remove the gesture drawing, cover the contour drawing with another sheet of tracing paper and make a modelled drawing in pencil. The instructions are largely the same as for the earlier modelled drawings (see Modelled Drawing) with one important exception. In the original exercise, the lightest parts of the drawing are the parts of the subject that are closest to you. In the sustained study, the lightest parts of the drawing are the lightest parts of the subject.

Sustained Study 1 - Modelled Drawing
31 March 2012
Graphite Pencil on Tracing Paper
42cm x 51cm (16.5" x 20")

I am immensely grateful to Elaine for all the time she spends posing and for allowing me to post these pictures. The modelled drawing is particularly unflattering, but it is an important measure of my progress at the mid point of the course. I’ve come a long way, but there is still a long way to travel.


Sunday, 1 April 2012

Holiday Sketch

Relaxing
25 March 2012
Water-soluble Pencil, Ink and Watercolour on Paper
25.5cm x 13cm (10" x 5")

On Tuesday, Elaine and I returned from an incredible holiday in the Maldives. We took a week off from the Natural Way to Draw, which made the break even more relaxing.

I kept up with the Daily Composition exercise and somehow I found time to draw Elaine reclining on a sun lounger.

This drawing is loosely based on the Extended Gesture Study and the Sustained Study from Section 13 of the Natural Way to Draw.

The Sustained Study brings together gesture drawing, contour drawing and modelled drawing. It uses tracing paper to overlay the different techniques. In this picture, I have used all three techniques on a single piece of paper.

I started by drawing an extended gesture study in water-soluble pencil. I followed this up with a contour drawing in ink and then some modelling with the water-soluble pencils.

I used a wet paintbrush to blend and soften the pencil lines. When this was dry, I finished the sketch by adding some watercolour.

This was an interesting experiment and I plan to do some more sketching using this technique.

Next weekend, I will write a more detailed post about the Extended Gesture Study and the Sustained Study.